Community tree planting events: essential preparation and equipment checklist
A community tree planting day can look successful long before it is successful. There are photographs of children with soil on their hands, riders unloading saplings from support vehicles, elders…
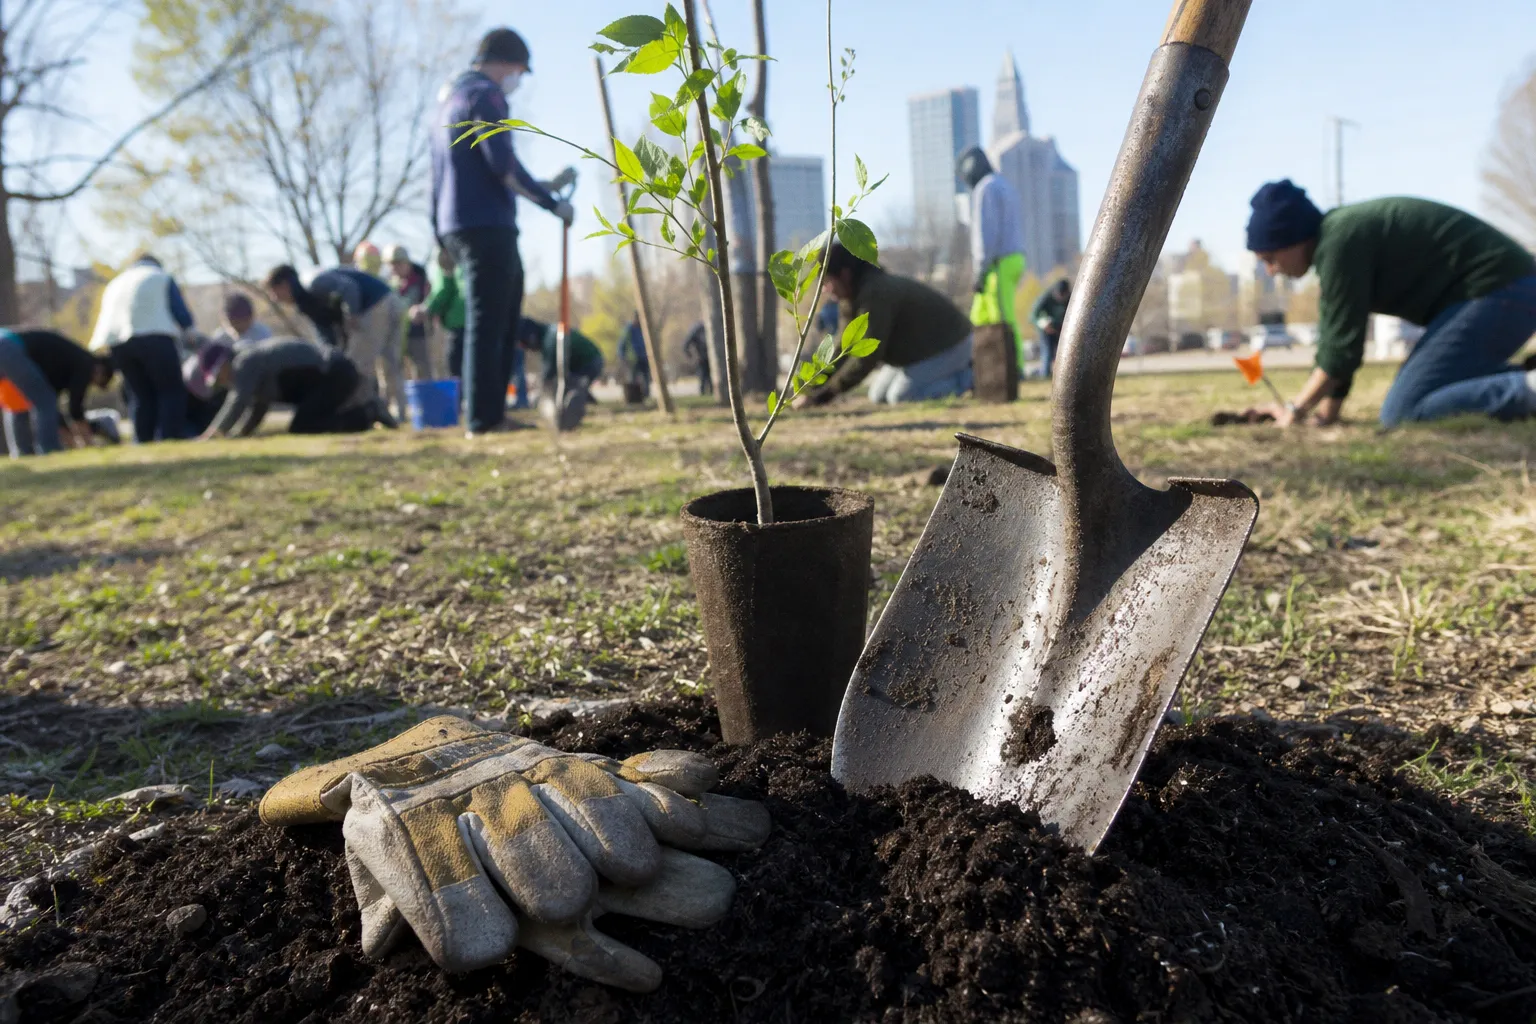
A community tree planting day can look successful long before it is successful. There are photographs of children with soil on their hands, riders unloading saplings from support vehicles, elders blessing the first pit, and a neat row of green stakes across a school boundary. Yet the real measure comes months later: whether the trees are alive through heat, monsoon runoff, grazing pressure, compacted soil, and the ordinary gap between an enthusiastic event and a reliable care routine.
In the villages where I work between our biker volunteers and school communities, the question is rarely, “How many trees can we plant on Sunday?” It is more honestly, “Which trees can this place carry, who has agreed to care for them, and what must be settled before the first shovel enters the ground?” That is the heart of a sound community tree planting event checklist preparation process. Planting is the visible moment; stewardship is the project.
A sapling is not a donation placed in the ground. It is a shared responsibility that needs room, water, protection, and a named circle of care.
Start with permission, purpose, and a realistic timeline
A local planting drive is not improved by rushing merely because a date is available. The best events begin with dialogue: with the landowner, the school head, the panchayat or ward representatives, nearby residents, grounds staff, and the people who will still be present after volunteers have ridden home.
For a school campus, the conversation should begin with how the trees will serve the daily life of the school. Shade along a hot assembly area, a windbreak near an exposed boundary, fruit or native habitat planting for environmental learning, soil stabilisation on a slope, and a living green edge around a playground are all different purposes. They require different species, spacing, protection, and maintenance arrangements.
Some community planting guides recommend beginning preparation six to twelve months before the event, particularly where public permissions, substantial tree orders, or large volunteer groups are involved. That may feel lengthy for a modest campus initiative, but the principle is sound: do not let the planting date become more important than the site’s readiness.
At roughly three months before a larger event, organisers should ideally have settled:
- the planting purpose and approximate number of trees;
- landowner or institutional permission in writing;
- whether the site falls under school, municipal, forest, highway, wetland, or other local authority rules;
- species selection with local ecological knowledge, including mature canopy size and invasive-species restrictions;
- the source and condition of saplings, whether bare-root, container-grown, or root-balled;
- a realistic post-planting care agreement;
- access for delivery vehicles, water, tools, and waste removal.
On school land, I also ask a quieter question: who holds the key to the water point during holidays? A beautiful watering plan that depends on a locked tap is not a plan. It is a hope with a calendar problem.
Public land, road verges, rights-of-way, wetlands, protected areas, and school grounds can all involve distinct approvals. Never treat permission as a ceremonial signature. It is the beginning of integration: it confirms who has authority, who will be consulted if the plan changes, and who accepts the landscape after the event.
Walk the ground before you invite the volunteers
A planting map should be made with feet on the ground, not from a satellite image or a hopeful conversation. Our crew often visits a proposed school site with a teacher, a caretaker, and one or two older students who know where rainwater runs, where footballs land, where cattle sometimes enter, and where the soil turns hard as fired brick.
That local knowledge is not an informal extra. It prevents avoidable damage and gives the project community agency from the beginning.
During the site walk, assess the following conditions:
1. Underground and overhead hazards. Identify water lines, drainage, electrical cables, irrigation pipes, boundary lighting, and overhead wires. In places served by a utility-location service, contact it well ahead of digging; one widely used community-planting guide recommends at least five business days, but local notice periods vary. Marked utilities are not a suggestion to dig carefully around them. They are a reason to move the planting position.
2. Space at maturity, not at delivery. A small sapling can be misleadingly polite. Ask how broad its crown and roots may become, and keep future clearance from classrooms, compound walls, drains, roofs, electrical lines, and paths. A tree that must be aggressively cut back every year was placed without respect for either the tree or the people beneath it.
3. Soil, drainage, and slope. Observe whether water pools after rain, whether the surface is compacted, whether the site is rocky, and whether the slope channels runoff toward the pits. A low spot that stays wet may kill a species that thrives only a few metres away on better-drained soil.
4. Existing life on the site. Do not clear shrubs, groundcover, or self-seeded native growth merely to create a ceremonially empty planting field. Existing vegetation may already be protecting soil, holding moisture, sheltering insects, or stabilising a bank.
5. Protection needs. Young trees near roads, grazing animals, busy playgrounds, or informal footpaths need a protection strategy before they are planted. Guards, mulched circles, visible markers, and a community understanding of why the area is protected work better together than any single barrier.
A final walk-through shortly before the event is worth the time. It confirms that sites remain clear, delivery access is open, utility markings are still visible where relevant, and no fresh construction, drainage work, or school activity has changed the ground conditions.
Gather equipment for work that is safe, not merely photogenic
The phrase “what to gather before community tree planting” often produces a list of shovels and gloves. Both matter, of course. But a well-run toolkit also accounts for carrying, root handling, weather, first aid, waste, record-keeping, and the simple fact that volunteers have different levels of strength and experience.
Here is the working kit I would prepare for a school or village planting day.
| Equipment group | What to bring | Why it belongs in the plan |
|---|---|---|
| Digging tools | Shovels, spades, mattocks or pickaxes where soil is hard | Different soil conditions demand different tools; one shovel type will not serve every pit |
| Handling and transport | Dollies, wheelbarrows, tarpaulins, rope, gloves | Prevents volunteers from dragging root balls or exhausting themselves before planting begins |
| Root preparation | Clean sharp knives, scissors, wire cutters | Useful for removing containers, ties, and restrictive packaging; roots must be handled carefully |
| Safety and weather | Work gloves, high-visibility vests where vehicles are nearby, rain ponchos, drinking water, first-aid kit | Keeps the work humane and organised when weather or traffic changes the day |
| Site coordination | Clipboards, pens, printed planting map, labels, marker flags | Helps teams plant the right tree in the right location and record who will care for it |
| Aftercare materials | Mulch, watering cans or hoses, tree guards where needed, buckets | Makes the event the first day of establishment rather than the last day of attention |
| Clean-up | Trash bags, collection point for pots and packaging | A greening event should not leave plastic pots, ties, and damaged packaging scattered around the campus |
For large groups, divide volunteers into manageable teams rather than sending everyone toward the same line of pits. A useful field standard is one demonstration planting for each group of roughly 25 to 30 volunteers. The point is not crowd control for its own sake. It is that people can see the root flare, hear the reason for the hole dimensions, ask questions, and use tools without competing for space.
Our biker teams can be especially helpful here because they are used to logistics: carrying water, moving supplies between site zones, keeping a tool-return point, and making sure that the day does not become a scramble around the most energetic few. But facilitation should remain shared. A local teacher may be the best person to allocate student groups; a village elder may know exactly which pathway must remain open; a groundskeeper may see a watering problem nobody else has noticed.
Plant the tree at the right level, with its roots able to breathe
Many planting failures begin in a pit that looks impressive. Deep, narrow holes are still commonly treated as evidence of effort, although they can place a tree too low and encourage water to collect around the root system. The task is not to bury the sapling securely. It is to give its roots a stable, oxygenated transition into the surrounding soil.
The planting hole should generally be at least one to two feet wider than the root system. Remove stones, rubbish, and major debris from the excavation. Do not routinely add gravel or rocks at the bottom; unless there is a specific drainage design connected to drain tile, this is not a universal cure for poor drainage and may create a misleading layer beneath the roots.
The central technical detail is the trunk flare: the point where the trunk broadens into the root system. For bare-root and container-grown stock, the flare or graft union should sit around one inch above the finished soil level. If it disappears beneath soil or mulch, the tree has been set too deeply.
A practical planting sequence for volunteer teams
1. Inspect the sapling before it enters the hole. Keep roots moist and protected from direct sun and wind. Do not leave bare-root stock exposed while teams wait for tools or instructions.
2. Check for circling roots in container-grown trees. Roots that have travelled around the pot can continue circling after planting, eventually constricting the tree. Loosen or, where necessary, carefully cut them so they can grow outward.
3. Place the tree before backfilling. Step back and look at it from more than one direction. The trunk should be upright, the root flare visible, and the tree positioned with consideration for the site’s future movement patterns.
4. Backfill with the excavated soil. Break large clumps where possible and firm gently enough to remove major air pockets without compacting the ground around the roots.
5. Water immediately. This settles soil around roots and begins the hydration routine. For newly planted trees, a useful guide is around one to one-and-a-half gallons of water per inch of trunk diameter at each watering, though actual needs depend on rainfall, soil, heat, and stock type.
6. Mulch the root zone, not the trunk. Apply a two- to three-inch layer across a broad circle—often around six feet in diameter where space allows—and leave at least four inches clear around the trunk. No mulch volcanoes. No plastic sheet beneath the mulch, which can limit air and water movement to the roots.
The tree should leave planting day standing a little proud of the soil, with its flare visible and its future root zone protected—not suffocated by our enthusiasm.
Routine staking is not necessary for every new tree. A tree that can move slightly in the wind often develops stronger anchoring roots. Stake only where exposure, unstable root balls, or site conditions genuinely call for it, and remove ties before they begin to constrict growth.
Build the watering plan before the first sapling arrives
The most difficult part of tree plantation campaign planning steps is not technical planting. It is continuity. A school may close for holidays. A volunteer group may have other commitments. A water source may fail. One caretaker may carry the whole responsibility until that person transfers, falls ill, or simply becomes tired of being the only one who remembers.
This is why every planting site needs named stewardship, ideally shared across several people and institutions. On a school campus, that may include a teacher coordinator, a student eco-club, a grounds worker, parent volunteers, and a nearby community member who can observe conditions during breaks. In a village common area, it may involve a women’s self-help group, youth volunteers, local farmers, and the body responsible for the land.
New trees commonly need daily watering for the first one to two weeks, then watering every two to three days through approximately the first twelve weeks, before shifting toward weekly watering until roots are established. This is a useful baseline, not a national rule. Heavy rain, sandy ground, clay soil, heat, mulching quality, wind exposure, and the size of the tree all alter the schedule.
A different practical approach is to supply around five to seven gallons directly to the root ball once a week, increasing frequency when conditions demand it. What matters is not devotion to a fixed number; it is observing the soil and the tree. Water should reach the root zone rather than merely darken the surface.
A simple aftercare register makes the work visible without turning it into bureaucracy. Record:
- the tree number or location;
- species, if confirmed;
- planting date;
- the person or group responsible that week;
- watering dates and rainfall notes;
- signs of wilt, pest damage, animal browsing, broken guards, or mulch displacement;
- replacement decisions, if a tree fails.
This register is also a powerful educational tool. Students learn that environmental stewardship includes noticing patterns, not only participating in a one-day campaign. They can compare shaded and exposed sites, watch mulch retain moisture, map survival rates, and understand why native ecological restoration is a long conversation with place.
Let the event create stewardship, not dependency
The strongest local sustainability campaigns are not those that arrive with the largest truckload of saplings. They are those that leave behind clearer relationships: between a school and its grounds, between young people and the older residents who know the seasons, between volunteer riders and local caretakers, and between an ambitious planting day and the slower work of keeping life alive.
As a facilitator, I have learned to be wary of counting only what can be counted before sunset. The number of pits dug, trees planted, volunteers registered, or photographs shared may all be useful. But the deeper success of a community green initiative lies in whether people can say, months later, “That is our tree, and we know what it needs.”
A prepared event respects everyone involved. It does not ask villagers to inherit an unwatered landscape, or ask schools to manage species they never chose, or ask volunteers to improvise around hazards that should have been resolved in advance. It makes room for local agency, careful ecological judgment, and the ordinary, faithful tasks of watering, mulching, observing, and replacing.
That is the principle worth carrying into every future planting drive: begin with the community’s relationship to the land, and let every shovel, tool, and sapling strengthen that relationship rather than merely decorate it.