School campus greening: a step-by-step roadmap
A school campus greening project usually fails before the first tree goes into the ground.
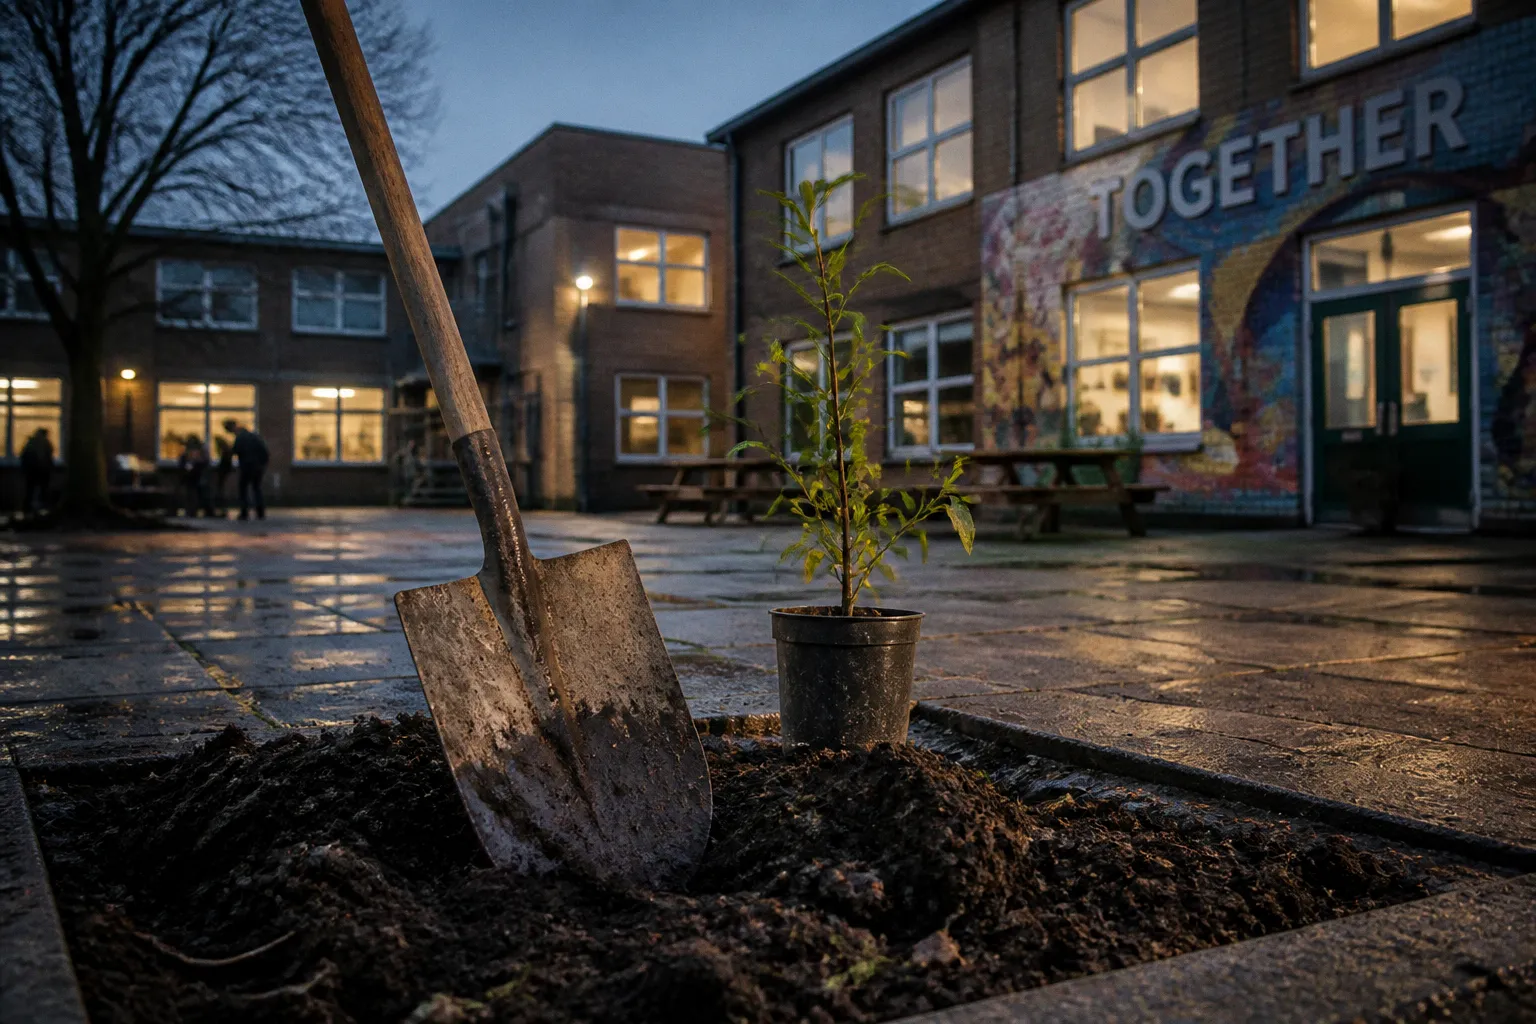
The failure starts with a weak survey, a blocked drainage line, a roof that cannot take the load, or a maintenance plan that ends when the volunteers leave.
We have seen the same pattern on rural routes. A campus gets painted green on paper. Seedlings arrive. A few bins are installed. Then the monsoon finds the loose soil, the heat takes the unwatered plants, and the access path becomes unusable for anyone carrying equipment or using a wheelchair. The project did not lack intent. It lacked a route from inspection to maintenance.
A workable school campus greening project roadmap treats the grounds as an operating system. Governance, water, soil, shade, waste, access, teaching, and maintenance must connect. The UNESCO Green School Quality Standard, published in 2024, uses this whole-institution approach and targets the transformation of at least 50% of schools in all countries into green schools by 2030. That is a large target. On the ground, the job still begins with one campus, one drainage line, and one list of materials.
Start with the campus, not the planting list
The first document should not be a catalogue of trees. It should be a site record.
We need to know where water enters, where it leaves, where students walk, where vehicles unload, and where the ground fails under rain. A school campus is not an empty field. It is a working compound with classrooms, kitchens, toilets, play areas, electrical systems, boundary walls, storage points, and movement routes. Every intervention competes with those functions.
Walk the full perimeter. Then walk it again after rain if possible. Mark:
- roof edges and downpipes, including discharge points;
- areas with standing water, exposed roots, compacted soil, and erosion;
- existing trees, their canopy spread, trunk condition, and distance from buildings;
- routes used by students, staff, service workers, and emergency access;
- locations for waste sorting, composting, tool storage, and water tanks;
- electrical panels, fire equipment, septic systems, inspection covers, and drainage channels;
- walls, roofs, balconies, and shaded structures that may receive planting systems;
- places where new shade or vegetation could obstruct windows, ventilation, lighting, or security sightlines.
Use a simple campus map. It does not need to look polished. It needs to carry dimensions, materials, slopes, and failure points. Measure clear route widths. Photograph cracks and erosion. Record which taps work and which are decorative metal fixtures with no reliable supply behind them.
Do not place a tree because the space looks empty. Place it because the soil, water, root clearance, canopy spread, and maintenance route can support it.
The first pass: divide the work into operating zones
A useful campus greening plan steps through the site by function rather than by visual appeal. We normally divide the ground into four working zones:
| Zone | Main job | Typical interventions | Main failure point |
|---|---|---|---|
| Learning zone | Connect environmental work to daily teaching | Demonstration beds, weather stations, native plant plots, waste audits | Becomes decoration with no curriculum use |
| Water zone | Slow, store, filter, and reuse water | Downpipe capture, infiltration areas, mulch, drainage repair | Flooding, mosquito risk, or dry-season failure |
| Habitat zone | Support local biodiversity and shade | Native planting, layered vegetation, soil recovery | Wrong species, compacted soil, uncontrolled growth |
| Service zone | Keep the system running | Compost bays, tool storage, sorting stations, maintenance access | No owner, poor access, material contamination |
The zones can overlap. A rain garden can be a science lesson. A compost area can support the kitchen garden. A shaded route can also improve outdoor teaching. But each intervention needs a primary job. If nobody can explain what the feature does, it will be hard to maintain and harder to defend when space is tight.
A green campus is not a collection of plants. It is a set of systems that must survive heat, rain, traffic, and staff turnover.
Build the roadmap in phases
Different frameworks use different numbers of steps. Green-Campus Ireland requires a minimum registration period of 1.5 academic years and follows a seven-step methodology before a campus can apply for the Green Flag Award. The IUCN Commission on Education and Communication and the Children & Nature Network published a ten-step guide in October 2025, arranged across three phases: “Setting the Stage,” “Moving Forward,” and “Keeping It Going.”
The labels differ. The field work does not. We still need to inspect, assign responsibility, install, measure, repair, and repeat.
For a school team, the following sequence is practical.
1. Set the operating group
The group needs authority, not just enthusiasm. Include school leadership, a facilities or maintenance representative, teachers, students, and community or volunteer partners. Where the project touches a public building, the owner or responsible authority must be involved before permanent work starts.
Assign named duties:
- one person controls the site map and records;
- one person coordinates materials and deliveries;
- one person owns water and planting maintenance;
- one person tracks waste and composting;
- one person checks access, hazards, and route clearance;
- students support surveys, monitoring, and communication rather than carrying structural responsibility.
This distinction matters. Student-led campus greening initiatives are useful when students collect data, map shade, measure waste, monitor plant survival, and report blocked drains. They should not be left to approve roof loads, electrical clearances, fire routes, or permanent structures.
2. Establish the baseline
Record the existing condition before changing it. A baseline can include:
- water consumption or available supply;
- waste volumes by type, if the school can weigh them;
- number and condition of existing trees;
- shade coverage in key outdoor areas;
- surface types and areas of bare or compacted soil;
- drainage failures after rainfall;
- access-route widths and obstructions;
- current maintenance time, tools, and responsible staff.
The baseline does not need to be perfect. It needs to be repeatable. If the team cannot measure the same condition again in six months, the first measurement has limited value.
3. Select a small first package
Do not open every work front at once. A first package should combine one visible improvement with one piece of infrastructure and one monitoring task.
For example:
1. repair a roof downpipe discharge point;
2. mulch and restore a compacted planting bed;
3. establish a student water or waste log.
That package tests the real operating conditions. Is water available? Who unlocks the tool store? Can the team source mulch? Does the route remain clear during school hours? Does anyone record failures?
Start with a package that can be inspected and repaired. A campus full of unfinished features is not progress. It is stored liability.
4. Install the water and soil controls before planting
Plants are the final component, not the first. Stabilize the site first.
Direct roof runoff away from building foundations and toward an approved infiltration, storage, or drainage point. Break up compacted soil where appropriate. Use mulch to reduce evaporation and erosion. Protect young planting from foot traffic. Keep inspection covers and service access visible.
For water-sensitive work, the sequence is straightforward:
- identify the source;
- calculate or estimate the flow path from the site shape;
- confirm where water can safely go;
- install the control;
- inspect during rain;
- repair erosion and blockage before adding more planting.
A school cannot claim a water solution because it has one rain barrel. The barrel must have a stable base, an overflow route, a covered opening where needed, and a cleaning plan. The same rule applies to swales, infiltration beds, storage tanks, and irrigation lines. Every piece needs a failure mode and an owner.
5. Plant for survival and use
Species selection should follow the site conditions and the school’s capacity. Use local or regionally appropriate species where they fit the soil and climate. Mix canopy, understory, groundcover, and productive or teaching plants only where the maintenance team can support that structure.
Avoid creating a plantation that depends on daily watering if the school has no reliable water supply during holidays. Avoid species that will outgrow the available route or interfere with foundations and overhead services. Avoid dense planting beside walls when it blocks inspection or traps moisture against the structure.
A planting plan should show:
- species and quantities;
- planting locations;
- spacing and expected mature spread;
- watering requirement during establishment;
- protection from animals and foot traffic;
- replacement method for failed plants;
- pruning and inspection responsibility.
The objective is not maximum plant count. It is stable cover, usable shade, functioning habitat, and a maintenance load the school can carry.
Treat technical systems as construction work
Greening becomes risky when the word “green” hides the physical work underneath. A vertical garden may need anchors. A roof garden may add dead load and retained water. A shade structure may change wind forces. A compost enclosure may affect drainage and pest control. A solar or cooling system may interact with fire access and electrical equipment.
The Green Cool Schools roadmap states that technical greening systems must be installed by certified companies where required to meet fire-safety and load-bearing requirements. DIY systems should still be reviewed by specialists. That is not a paperwork exercise. It is how we stop a low-cost intervention from becoming a structural repair.
Before fixing anything to a building, identify:
- the substrate: masonry, concrete, steel, roof membrane, or another material;
- the anchor type and fixing depth;
- the added dead load, including wet soil and stored water;
- wind exposure and overturning risk;
- drainage and waterproofing details;
- fire separation and access routes;
- inspection and removal requirements;
- the person responsible for future repairs.
Permanent installations require coordination with the building owner. Do not assume every minor indoor or outdoor feature needs a general building permit. Requirements depend on the work and local rules. But do not assume that a small feature is automatically harmless either.
A lightweight planter on a movable stand is a different job from a saturated planter fixed to a parapet. A fabric shade is different from a steel frame. A painted wall is different from a living wall with irrigation. The material list tells us where the risk begins.
Keep the construction sequence clean
We use this order because it limits rework:
1. mark existing services and protected areas;
2. remove waste and unstable material;
3. repair drainage and surfaces;
4. install foundations, anchors, or support frames;
5. test waterproofing and water flow;
6. place soil, containers, or planting media;
7. plant and protect;
8. clear routes and inspect hazards;
9. hand over maintenance instructions;
10. record the finished condition on the campus map.
Do not plant over an untested drain. Do not bury a service cover. Do not close a route with stored soil bags and call it temporary for three months. Temporary obstructions become permanent when the next work team arrives and cannot find the original plan.
Accessibility is a route dimension, not a slogan
A greening project can improve the campus for some users while cutting off others. Raised beds, edging, benches, planters, tree guards, compost stations, and decorative stones all consume width. The route may still look open while a wheelchair, mobility aid, service trolley, or emergency response team cannot pass.
Under ADA Standards, an accessible route requires a minimum continuous clear width of 36 inches. Local requirements may differ, and schools should apply the rules that govern their site. The field principle remains the same: measure the clear passage after every object is installed, not before.
Check the route at the points where projects usually fail:
- between a planter and a wall;
- around tree guards and seating;
- at gates and changes in surface;
- beside compost or waste stations;
- under low branches and shade structures;
- at ramps, thresholds, and drainage channels;
- where temporary hoses, cables, tools, or plant stock are stored.
The surface also matters. A path with the correct width can still fail if it has loose gravel, abrupt lips, ponding, exposed roots, or slippery organic buildup. Drainage should move water away without creating a trench that becomes a wheel trap.
Use route testing with actual equipment. Move a loaded cart. Bring the maintenance tools through. Check gate operation. If the project team cannot haul mulch or repair a tap without crossing a planted bed, the layout has already lost.
Connect the work to teaching without turning it into theatre
A school sustainability project needs a learning function, but not every feature needs a signboard. The campus itself can provide data.
Students can monitor:
- rainfall and runoff at selected collection points;
- plant survival by species and planting zone;
- waste contamination in sorting bins;
- compost inputs and outputs;
- soil moisture at fixed locations;
- shade movement across the day;
- changes in surface temperature where the school has suitable instruments;
- bird, insect, or other local habitat observations.
The method must stay consistent. Use the same observation points. Record dates. Separate a broken instrument from a real change in the site. Do not turn one week of observations into a climate conclusion.
Teachers can connect the work to biology, geography, mathematics, civic studies, and practical construction. The best student-led campus greening initiatives are not volunteer labour disguised as education. They give students controlled responsibility for measurement, decisions, and reporting while qualified adults retain responsibility for safety and permanent works.
A waste station is useful only if collection routes, storage, contamination control, and final disposal are defined. Composting is useful only if the feedstock is appropriate, the pile has drainage and aeration, and someone manages it during holidays. A tree-planting drive is useful only if watering, guarding, replacement, and survival records are funded and assigned.
Maintenance is the real milestone
The installation day attracts people. The maintenance day determines whether the project exists.
A school campus greening plan should include a maintenance calendar before materials are ordered. Divide tasks by frequency and skill:
| Interval | Tasks | Responsible role |
|---|---|---|
| Daily or during school use | Clear routes, remove trip hazards, check overflowing bins or tanks | School staff or assigned caretaker |
| Weekly | Inspect young plants, irrigation points, compost inputs, and drainage openings | Maintenance lead with student monitors |
| Monthly | Check anchors, guards, edging, mulch depth, waste contamination, and tool condition | Facilities team and project coordinator |
| After heavy rain or extreme heat | Inspect erosion, ponding, blocked outlets, damaged supports, and plant stress | Site lead before reopening affected areas |
| Each term | Review data, replace failed plants, revise tasks, and confirm responsible people | School leadership and operating group |
| Before holidays | Secure tools, isolate systems as needed, set watering cover, and remove temporary hazards | Facilities lead |
The exact task frequency will depend on climate, materials, and school use. The point is ownership. “The community will maintain it” is not an operating plan. Name the person or role. Set the tool location. Define what counts as a failure. Record the repair.
We also need to account for turnover. Students graduate. Teachers transfer. Volunteers move on. Put the site map, maintenance schedule, supplier details, and inspection notes in a location the next team can find. A project that depends on one organiser’s memory is not resilient.
If the maintenance route is not funded, staffed, and reachable, the planting plan is only a delivery schedule.
Secure resources around the work, not around the label
Climate-ready schools receive limited financing. Education currently receives less than 2% of total global climate finance. That gap has a direct effect on campus work. Schools are often asked to deliver resilience with donations, short campaigns, and volunteer labour while permanent infrastructure remains unfunded.
We should separate the resource request into clear packages:
- site survey and design;
- drainage and soil repair;
- planting stock and protection;
- water storage or irrigation;
- waste and compost systems;
- shade or structural installations;
- accessibility repairs;
- monitoring tools;
- maintenance labour and replacement stock.
This makes the budget easier to review and harder to misuse. A donation of seedlings does not cover guards, soil preparation, water, transport, or replacement. A set of bins does not cover collection or disposal. Free labour does not remove the cost of tools, safety equipment, supervision, and repair.
Use local supply chains where the materials are suitable and traceable. Confirm delivery access before ordering bulk soil, stone, timber, or tanks. Check whether the route can support the vehicle. Confirm where materials will be stored without blocking classrooms, fire equipment, or accessible paths.
For volunteer rider networks, the logistics are familiar. We need a manifest, a route, a loading plan, and a return plan. The same applies to a campus project. Count the bags. Label the tools. Anchor the fragile parts. Leave the site cleaner than we found it. Do not unload material that the school cannot store or maintain.
Sequence funding around milestones
The school sustainability project milestones should show physical progress and operating control:
1. Survey complete: map, measurements, photographs, hazards, and baseline records filed.
2. Responsibilities assigned: school, facilities, students, volunteers, and external specialists named.
3. Water and access corrected: drainage, route clearance, and surface hazards addressed before planting.
4. First installation complete: one defined package built, tested, and documented.
5. Maintenance cycle active: tasks completed through at least one normal operating period and one disruption period, such as holidays or heavy rain.
6. Data review complete: survival, waste, water, access, and repair records reviewed.
7. Expansion decision made: add, modify, or stop based on evidence rather than appearance.
This sequence prevents a common procurement error: spending the full budget on installation while leaving no capacity for the first repair.
Keep the project aligned with a whole-institution standard
A green campus is not only a grounds project. The UNESCO standard frames the work across the institution. That means campus infrastructure should connect to governance, teaching, operations, and community participation.
We can use five questions to test alignment:
- Governance: Who can approve changes, allocate funds, and enforce maintenance?
- Facilities: Does the intervention reduce risk, improve water handling, support shade, or reduce waste without creating another hazard?
- Curriculum: What do students measure, interpret, and change?
- Operations: Who maintains the system during weekends, holidays, drought, and heavy rain?
- Community: Can families, local groups, and volunteers contribute without replacing the school’s core responsibility?
The campus should also have a stop rule. If a feature repeatedly fails, blocks access, attracts pests, or exceeds available maintenance capacity, remove or redesign it. Green work is not protected from operational failure because it has an environmental label.
As of 2026, more than 110,000 schools across 98 countries are recognized as green schools under the UNESCO standard. That scale demonstrates that frameworks can travel. It does not mean every site should copy the same planting palette, waste system, or building detail. Standards provide direction. The dirt road still sets the route.
The final handover: leave a system, not a photo opportunity
Before we close a school campus greening project, we walk the entire site with the person who will operate it. We open the gates. Test the taps. Inspect the drains. Push the carts through. Check the clear widths. Look under the benches and behind the bins. Review the roof and wall connections. Confirm that every tool has a storage point and every recurring task has an owner.
The handover record should include:
- the final campus map;
- installed materials and quantities;
- plant list and locations;
- watering and pruning requirements;
- drainage and overflow routes;
- structural or technical certificates where required;
- inspection dates;
- emergency contacts;
- replacement procedures;
- waste collection arrangements;
- the next scheduled review.
Then we return after the first serious weather event. That is when loose edges show, mulch moves, tanks overflow, routes pond, and weak anchors start to pull. A project is not complete when the last volunteer loads a motorcycle. It is complete when the campus can absorb the next season without losing its function.
The practical roadmap is short:
1. Survey the ground and services.
2. Map water, movement, shade, waste, and hazards.
3. Assign owners with authority.
4. Repair drainage, soil, and routes before planting.
5. Review technical systems for load, fire, waterproofing, and access.
6. Plant for site conditions and available maintenance.
7. Connect the work to measurable lessons.
8. Fund the repair cycle, not only the installation.
9. Inspect after weather and during school use.
10. Remove what cannot be maintained.
That is the standard we should use. Not how green the campus looks on handover day. Whether the system still works when the road is wet, the budget is tight, the students have changed, and nobody is available to explain what the original plan meant.